T H I S S I T E I S N O T A F F I L I A T E D W I T H M A C N N . C O M
![]()
![]()
![]()
![]()
![]()
![]()
![]()
![]()

![]()
![]()
![]()
![]()
Name: Holographic Clones
Creator: Dr. Wily
Two of the Holographic Clones are fakes, and cannot be hit (the weapon passes right through), only one may be damaged. The “real” Hologram will use the transporters and re-appear in random places, so if you lose him, he can be difficult to find. The real Hologram always appears on the top level when you first arrive in the room, so jump to the top quickly, and spray him with the Search Snake.
![]()
Mini Gamma
Walking Grenade
Hologram
Bomb Spinner
Big Bouncer
![]()
1-UP (1)
Small Energy Pellet (1)
Large Weapon Pellet (3)
Question Tank (2)
Energy Tank (1)
![]()
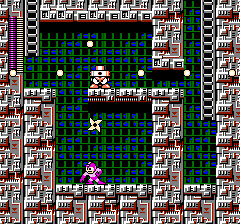
Aim a Shadow Blade upwards to get the Mini Gamma.
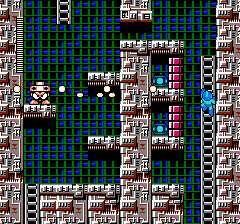
Fire at the Mini Gamma before attempting to get the Large Weapon Pellets.
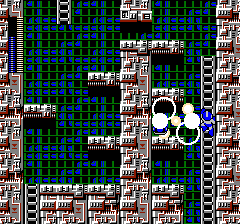
Use the Hard Knuckle to blast open the barriers, then recharge the Hard Knuckle.
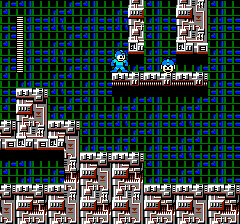
Be sure to turn off the Hologram. It will make reaching the 1-UP much easier.
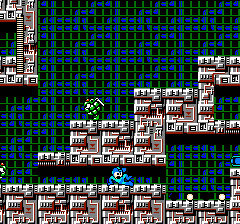
Slide under the platform rather than running over top.
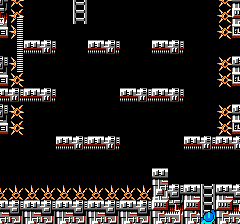
Though this moving platform section may look daunting, it's actually quite easy. Just follow the pattern, then jump to the top quickly.
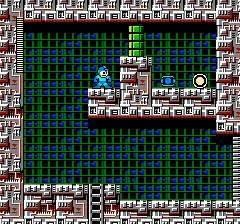
Shoot the Question Tanks before breaking down the barrier. Why? Well, if there's nothing you need on the other side, you don't need to waste any Hard Knuckles.
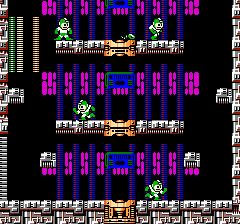
Jump right to the top level and shoot as many Search Snakes as you can. Whatever you do, don't let the Mega Man Hologram get back into the transporter.
![]()
Dr. Wily’s Castle 3 & 4
Dr. Wily’s Castle 3 & 4 MIDI
Dr. Wily’s Castle 3 & 4 MP3
Copyright © 1998-2000 David Bradbury
11062
Since January 1, 1999
Tuesday, 27-Jun-2000 21:23:11 EDT
