T H I S S I T E I S N O T A F F I L I A T E D W I T H M A C N N . C O M
![]()
![]()
![]()
![]()
![]()
![]()
![]()

![]()
![]()
![]()
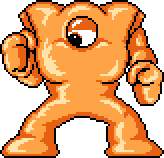
Name: Rock Monster
Creator: Dr. Wily
Hit the Rock Monster’s eye with Hard Knuckes. To avoid the “wave,” fly with Rush Jet.
![]()
Jaws
Bees
![]()
1-UP (1)
Large Energy Pellet (1)
Large Weapon Pellet (2)
Question Tank (2)
Energy Tank (1)
![]()
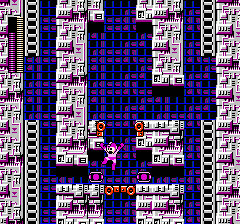
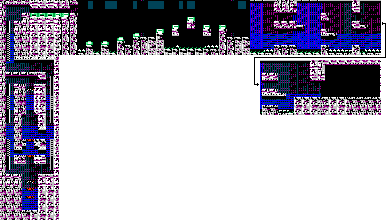
Fall down the left side and recharge the Shadow Blade that was used to defeat the Turtle Machine in the last level. Climb up the left hand ladder.
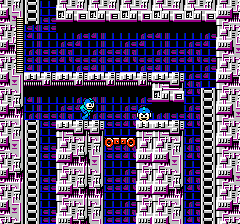
Jump off the trap door as soon as Mega Man lands on it to get the 1-UP.
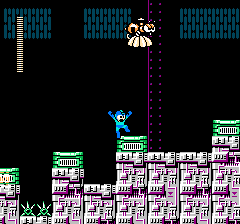
When the Mama Bee flys onto the screen, quickly double-back until she disappears. When you walk forward again, the Mama Bee won’t reappear.
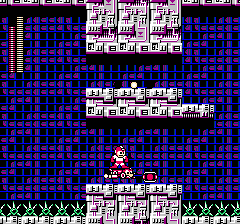
Fly though this section of the level on Rush’s back.
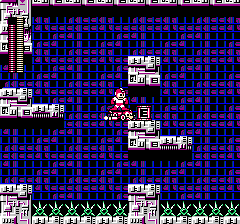
It can be tricky to get Rush to fly between these platforms, but the Energy Tank is well worth the effort.
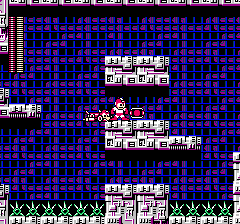
Walk off Rush to get these Pellets and recharge his power.
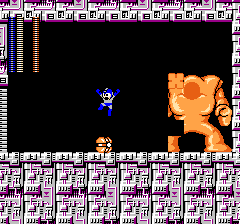
Jump over the Rock Monster’s parts as he appears on the screen.
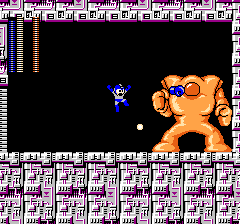
Once the Rock Monster is whole (you can tell by the black border around his eye), fire the Hard Knuckle at his eye while avoiding his pellet fire.
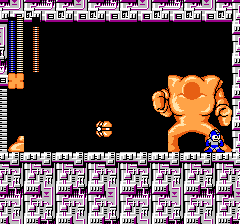
While the Rock Monster is zooming across the screen, you can hide inside his half constructed body. Note that you must leave this position before the last two blocks come together or Mega Man will be damaged.
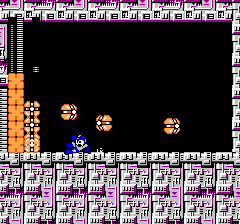
When the Rock Monster is “waving” across the screen, you can slide under his blocks.
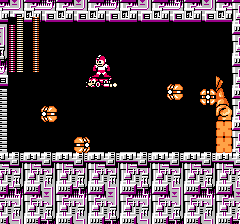
You can also use Rush Jet to fly over the whole mess.
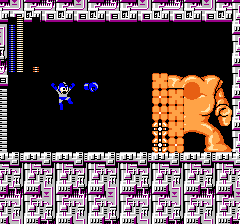
As the Rock Monster is reconstructing himself from the “wave,” fire at his eye before he finishes so you can hit him a few more times than usual.
![]()
Dr. Wily’s Castle 1 & 2
Dr. Wily’s Castle 1 & 2 MIDI
Dr. Wily’s Castle 1 & 2 MP3
Copyright © 1998-2000 David Bradbury
11061
Since January 1, 1999
Tuesday, 27-Jun-2000 21:23:11 EDT
